Background

Tuesday, October 9, 2012

M&M Peanut Butter Bars - by Lisa

I'm always on the lookout for quick and easy yummy recipes. After I saw a friend post these on Pinterest, I knew I had to try them! The best part about this recipe is the super simple ingredient list - 5 items!! That's it!! Even a 4 1/2 year old can make 'em! :D


It's also customizable. Prefer peanut M&Ms? Go for it! How about some Reese's Pieces? Delish! Butterscotch chips? Why not! Maybe try some Nutella instead of peanut butter. You get the idea. :)

I forgot to take more pictures before these were devoured. In, like, a day!

Anywho, here is the recipe slightly adapted. I apologize in advance for expanding your waistline. :)

M&M Peanut Butter Bars
adapted from Rachel Cooks

Ingredients:
3/4 cup peanut butter (I used creamy)
2 large eggs
1 cup packed dark brown sugar
2 cups all-purpose baking mix (Bisquick, for example)
1 bag of M&Ms (Regular M&Ms; ~12 oz bag)

Directions:
1. Preheat oven to 325*F. Spray a 7 x 11 pan with cooking spray.
2. Combine peanut butter and eggs until well mixed and smooth.
3. Add in brown sugar and stir until combined.
4. Stir in baking mix until moistened.
5. Fold in M&Ms. I had to use my hands for this part. And then also had to push in some stray M&Ms.
6. Spread mixture in greased pan and bake for 30-35 minutes or until golden brown.

Thursday, October 4, 2012

Kolacky’s - by Summer

 Today is my dad's birthday! I blame him for my love of all things sweet. But I suppose that isn't really a bad thing. He's a pretty funny guy who enjoys a good joke or a good story. In honor of his birthday I thought I would feature a very tasty cookie - the Kolacky. It's a pastry filled with fruit. I remember helping my mom make these as a child. My mom says they are a lot of work, and while they do have a few steps, I don't think it's anymore work than cut-out cookies - and compared to the decorating that Lisa and I have been doing with Royal Icing, these are quite simple!


The most important step is to pinch them tightly.  It's hard because just when I thought they were were really sealed well, I looked in the oven and they had popped open.  But no worries, open or tightly closed, these little cookies are delicious! I made a half recipe and yielded almost 6 dozen (although, sorry Dad, we won't be bringing that many to you tomorrow!)

Kolacky’s - Recipe from JoAnne Blume

4 sticks butter (soften)
4 (3 oz) pkg cream cheese (soften)
4 Tbs sugar
4 C flour
4 tsp baking powder
4 beaten eggs
2-3 cans of Solo fruit filling (or pie filling - I didn't use the Solo brand)

Cream butter & cream cheese; add sugar & mix. Sift flour with baking powder. Add to mixture and mix well. Add eggs and blend well. Chill. Place on flour dusted board (can also sprinkle a little granulated sugar to help with the sticky dough). Divide dough into fourths. Roll out thin and cut with cookie cutter. Fill with teaspoon (or a little less depending on size of cookie cutter you use) fruit filling. Fold sides together on top and press together. Bake 15-18 min at 400 degrees. Sprinkle w/powder sugar when cool.


Tuesday, September 25, 2012

Brown Eyed Baker's Salted Caramel Chocolate Chip Cookie Bars - by Lisa

Who doesn't love chocolate, caramel and sea salt? Ever since this delightful combo became popular, I've been thoroughly hooked! My eye is always drawn to recipes that feature this mouthwatering confection, and the recipe featured today was a total winner! My friend Kristi posted it to Pinterest, and when I saw it, I knew I immediately had to try it!

I did make this a few months ago, and sadly I didn't take any pictures. And for some foolish reason I haven't made it again since. Shame on me! In any case, I followed the recipe directly from Brown Eyed Baker. The only change I would make in future batches is making these in a 9x13 pan. The 8x8 I used made the cookie bars was just a wee bit too dense.


Salted Caramel Chocolate Chip Cookie Bars

Ingredients:

2 1/8 cups all-purpose flour
½ teaspoon baking soda
½ teaspoon salt
12 tablespoons unsalted butter, melted and cooled to room temperature
1 cup light brown sugar
½ cup granulated sugar
1 egg
1 egg yolk
2 teaspoons vanilla extract
2 cups chocolate chips
10 ounces caramel candy squares, unwrapped
3 tablespoons heavy cream
Fleur de sel (or other sea salt), for sprinkling over caramel and bars

Directions:
1. Preheat oven to 325 degrees F. Grease a 9-inch square pan; set aside.
2. In a medium bowl, whisk together the flour, baking soda, and salt; set aside.
3. Using an electric mixer, mix together the melted butter and sugars on medium speed until combined. Add the egg, egg yolk, and vanilla extract and mix until smooth. Slowly add the dry ingredients and mix on low, just until combined. Stir in the chocolate chips.
4. In a medium microwave-safe bowl, combine the caramels and heavy cream. Microwave on high until the caramels are melted, stirring every 20 seconds. This will take about 2 minutes.
5. Press half of the cookie dough into the prepared pan, smoothing the top with a spatula. Pour the hot caramel over the dough cookie dough and spread into an even layer, leaving some empty space around the edges. Sprinkle the caramel with the sea salt. Drop the remaining cookie dough in spoonfuls over the caramel and gently spread the dough with a spatula until the caramel is covered. Sprinkle the bars with additional sea salt.
6. Bake the cookie bars for 30 minutes, or until the top of the bars are light golden brown and the edges start to pull away from the pan. Cool the bars on a wire rack to room temperature, then refrigerate for about 30 minutes to allow the caramel layer to set. Cut into squares and serve. Store leftovers in an airtight container at room temperature.

These are seriously some of the yummiest chocolate chip cookie bars I have ever tasted! What I'd like to try for next is to make these into individual chocolate chip cookies. :)

Thursday, September 20, 2012

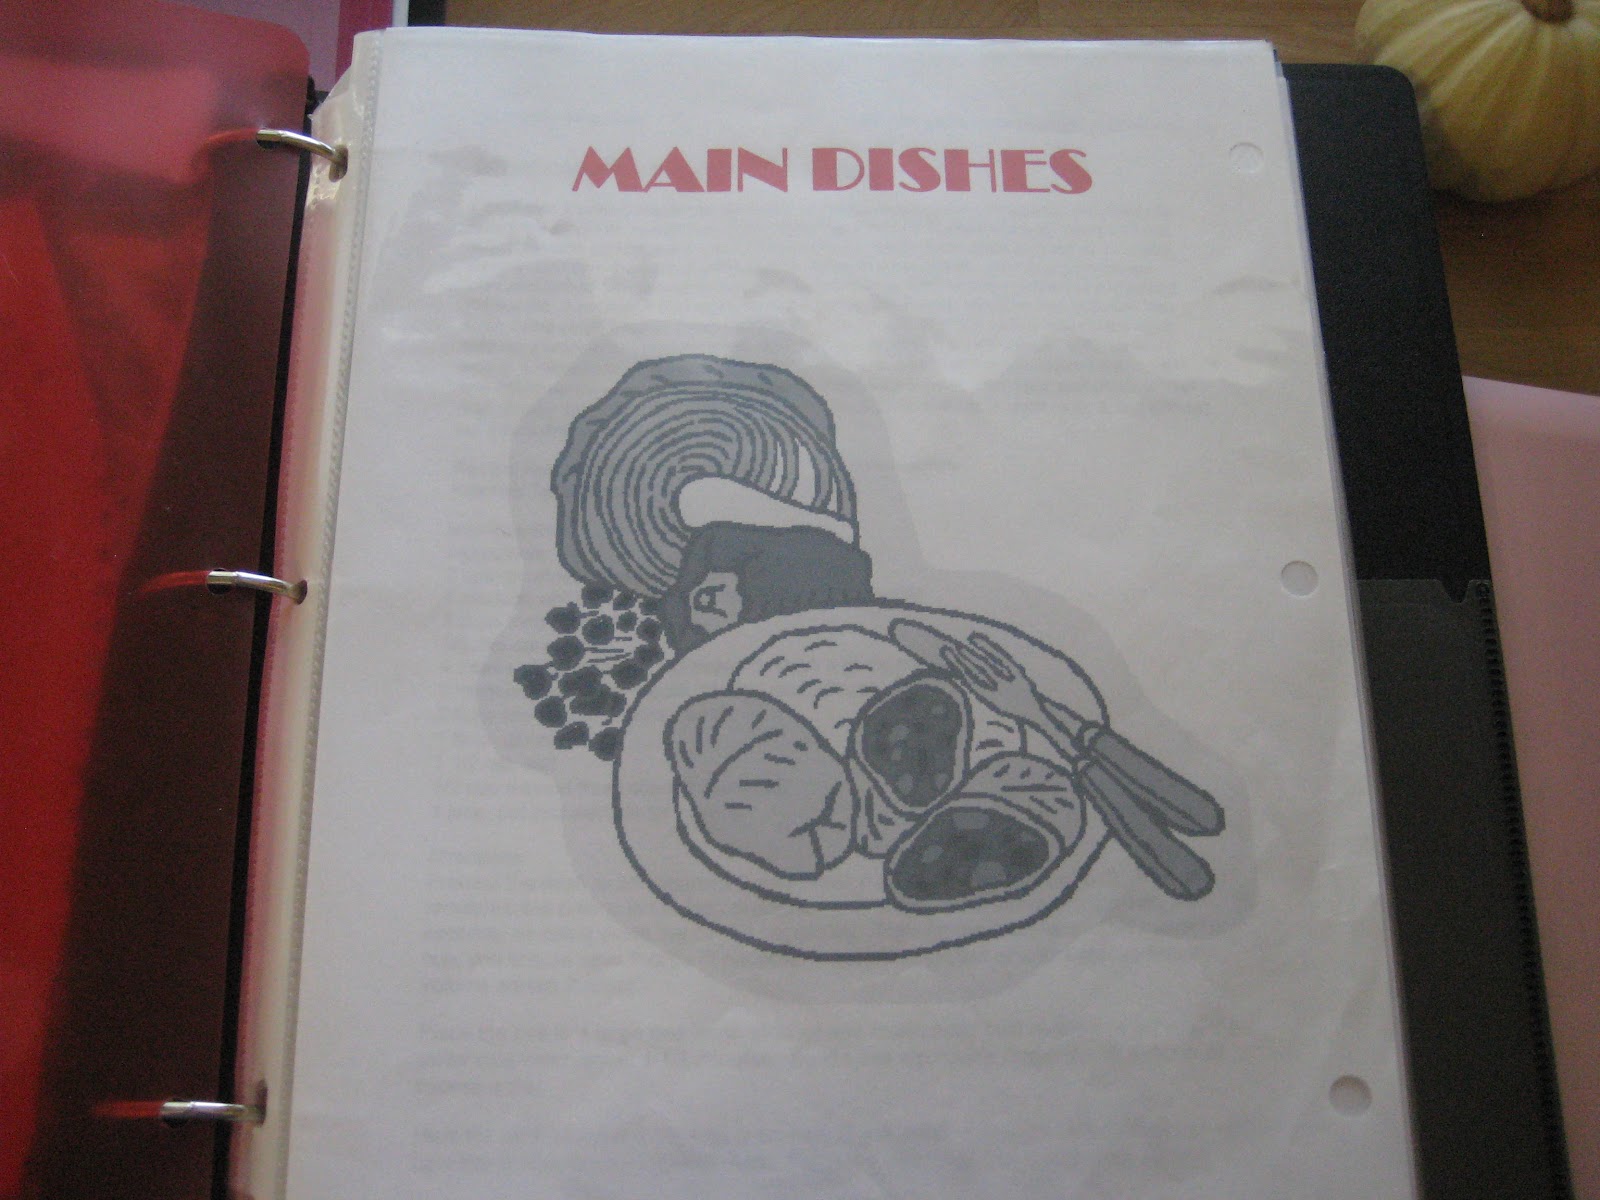
Recipe Binders - by Summer

I love Lisa's gadget guide that she has been sharing these past few weeks and I can't wait for more.  I've been baking up a storm lately, but I'll admit this week I haven't been in the kitchen much.  I've decided to share what I've done when I find recipes that I want to try or have tried.  I created binders. I used to have 3, one for main dishes, one for desserts and breakfast and one for side dishes.  I went through and typed up some recipes that were on little sheets or cut out from somewhere.  Then I placed all the recipes in page protectors.  They stayed like that for a long time and then one day at Target they had binders on sale. I bought two bigger ones that matched and now I have main dishes and sides in one binder separated by a tab and then desserts and breakfast stuff still together.


When I first created my binders, I made these nice little cover sheets before each section and I have kept them.


The thing that I like about these new binders is that they have side pockets and an envelope for any loose stuff.  I will admit that right now they are a bit of the mess, but I do try to go through them every couple of years to clean them up.  I usually weed through the recipes and decide if it would really be something that I would ever make - especially since I've had it set aside for 7 years and haven't made it yet!  And sometimes, like recently I found a recipe that I can't believe I haven't made yet (they are these oatmeal chocolate bars and I plan on making them very soon for this blog).

The best part about the binders are the page protectors.  I am a messy baker and cook, and will often spill stuff on recipes or get them wet.  With the protectors you can wipe them off and they stay as good as new.

The binders are also a great place for recipes that I find on the internet.  I usually print them off and stick them in the binder when I am done. I don't have a lot of counter space in the kitchen, so it's a pain to have my laptop in there while baking. Lately I've been getting a ton of recipes online, so I am grateful to have a spot for them.

Tuesday, September 18, 2012

Gadget Guide: Mini Measuring Spoons - by Lisa

I've been pretty busy with the play, home projects and just general day to day stuff and the things I've been baking have actually been from the cookbook we baked our way through! Since I don't have any other fun recipes to report at the moment, I thought I'd add another gadget guide entry.

Ever come across a recipe that calls for a dash or a pinch or a smidgen of an ingredient (usually a spice)? Did you know there are actually real measurements tied to those amounts? There are! Yes, we bakers can be maybe a little too precise sometimes. :) Normally I just guesstimate those amounts, but every once in awhile I pull out these cute little spoons I got ages ago as a little bonus gift. I've seen similar ones in stores from time to time as well. Some of those even include "hint" and "tad." LOL!

Sorry for the crummy phone photo


But in case you were wondering, those actual measurements are as follows (source: Wikipedia):
Dash: 1/8 tsp
Pinch: 1/16 tsp
Smidgen: 1/32 tsp

So there you have it! Learn something new everyday, right? ;)

Thursday, September 13, 2012

Mini Pumpkin Muffins - By Summer


I love baking in the fall and I especially love baking with pumpkin. I was hosting some moms and their kids at  our house yesterday for a playdate. I knew we were finally going to have some cooler weather (this week we were up in the 90's again). I was excited to try some pumpkins muffins. I was thinking mini muffins would be easy for the kids to handle and what goes better with pumpkin than chocolate?  I added some mini chocolate chips to the recipe and yum!

Mini Pumpkin Muffins adapted from Cooking with My Kid


Ingredients:
1 1/2 cups flour
3/4 cup sugar
1 teaspoons baking powder
1 teaspoon baking soda
pinch of salt
1 teaspoon pumpkin pie spice
1 can 100% pure pumpkin
2 large eggs lightly beaten
1/2 cup canola oil or vegetable oil
1/3 cup applesauce
1/2 cup mini chocolate chips (optional)

Preheat oven to 400 degrees. Spray mini muffin tins with cooking spray. Mix flours, sugar, baking powder, baking soda, pumpkin pie spice and salt in large bowl. In a separate bowl whisk together pumpkin, eggs, oil, and yogurt. Combine wet and dry ingredients until just blended. Stir in mini chocolates.  Spoon batter into muffin tins. Bake for 8 to 10 minutes or until toothpick comes out clean.  Transfer muffins to rack to cool.  Makes 48 mini muffins.

Just a couple of notes - the original recipe called for 30-35 muffins and I got 48 minis and 3 regular size ones.  I also used little paper cups instead of spraying the pan.


Tuesday, September 11, 2012

Gadget Guide: Oven Thermometer - by Lisa

I love baking/cooking/kitchen gadgets. So much so that I am often teased by my sisters for having so many of them! It's been a challenge in my past couple of residences to store all of them, but what can I say? I'm a sucker for a good gadget. :)

I thought it would be fun to highlight some of the gadgets I love or use most frequently in a series of posts over the next several months. I'll post about them once or twice a month under the header "Gadget Guide."

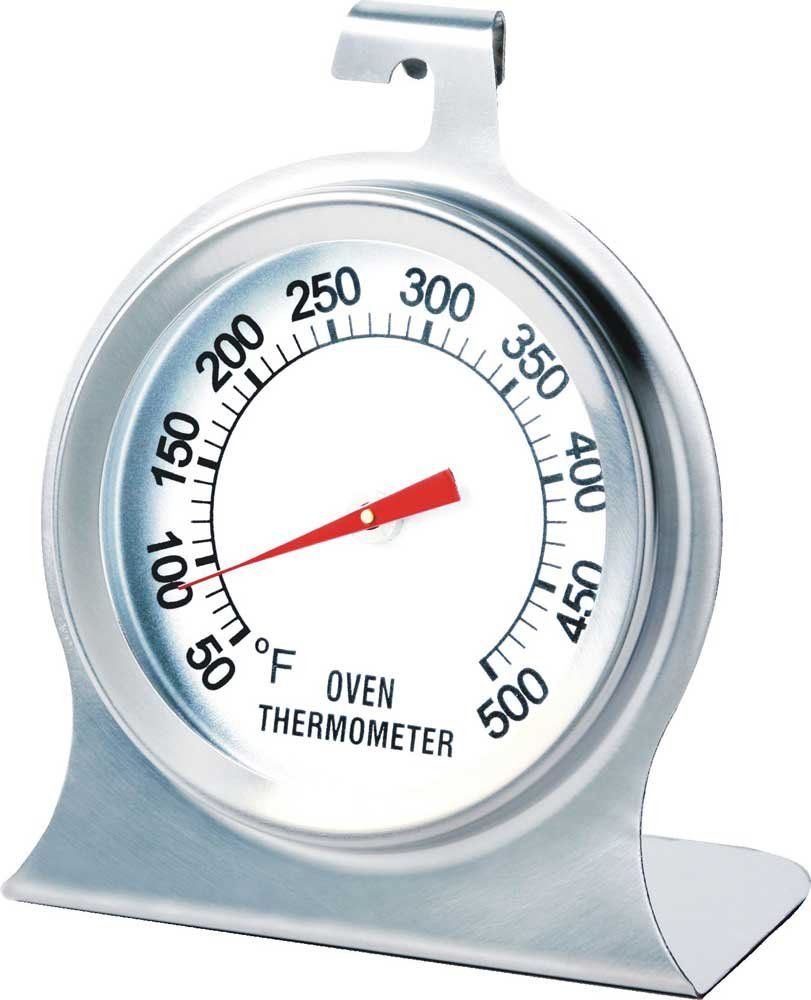
The first one that came to mind is my oven thermometer. I never had much use for one until I moved into our rental we lived in during our last year in WA. I was having the worst time baking my go-to recipe, chocolate chip cookies! I used to always bake them on a baking stone and they always came out great. Suddenly, in the new oven they were browning on the top, but not at all baking on the bottom and the chips barely even melted! I was in a panic. First I thought something was wrong with the stone, so I tried a new pan. No luck. Then I checked my baking soda. It wasn't that either. I methodically checked my steps and nothing I was doing changed. Finally I decided to check the oven temps.

I went to the store and bought one of those oven thermometers. I recalled my MIL having used one in her oven because it wasn't always heating reliably. They are easy to find in your local grocery store or big box store and can be purchased for as little as $5. I decided to place it in the center of the oven since that is where my trays and pans usually sit. Next, I turned the oven on to 375 and checked the temp when the "pre-heat" ding went off about 10 minutes later. Wait, what?! 250 degrees?! No wonder my cookies were turning out so miserably! I quickly learned that letting it pre-heat for about 20 minutes finally got it set to the correct temperature.


Fast forward two years to our new home in IL. After baking a couple recipes from our baking project, I'd noticed things weren't coming out quite right; like the meringues coming out a little burned among other things. I once again turned to my trusty oven thermometer and discovered my (ancient) oven was running 50-75 degrees hot! Ah ha! So now I have to remember to set my temps to about 300-325 when making my cookies that technically need to be set to 375.

So you can probably see why I am such a fan of the oven thermometer. It has recused my baking endeavors more than once! If you have an old oven or find things just aren't turning out quite right, maybe give the old thermometer a whirl. You might learn something new about your oven!