Background

Friday, June 29, 2012

"New Wave" Lemon Meringue Pie - by Lisa

Wow...it's finally here. My last recipe from this wonderful and amazing project! It only took me four kitchens and two states to do it, but here we are. :) I had aspirations of completing this recipe before we moved, but life kinda got complicated for awhile and with all the packing and preparation I just ran out of time. Fortunately I am obsessive about setting up the kitchen ASAP when we move, so I was actually able to get this done without too much muss or fuss!

Like Summer mentioned, I did actually consider buying the shortbread and meringues, but I experienced the same line of reasoning as she did, and I decided to make it all! I also thought I'd spread it out over a couple of days, but I wound up being able to get everything completed in the same day!

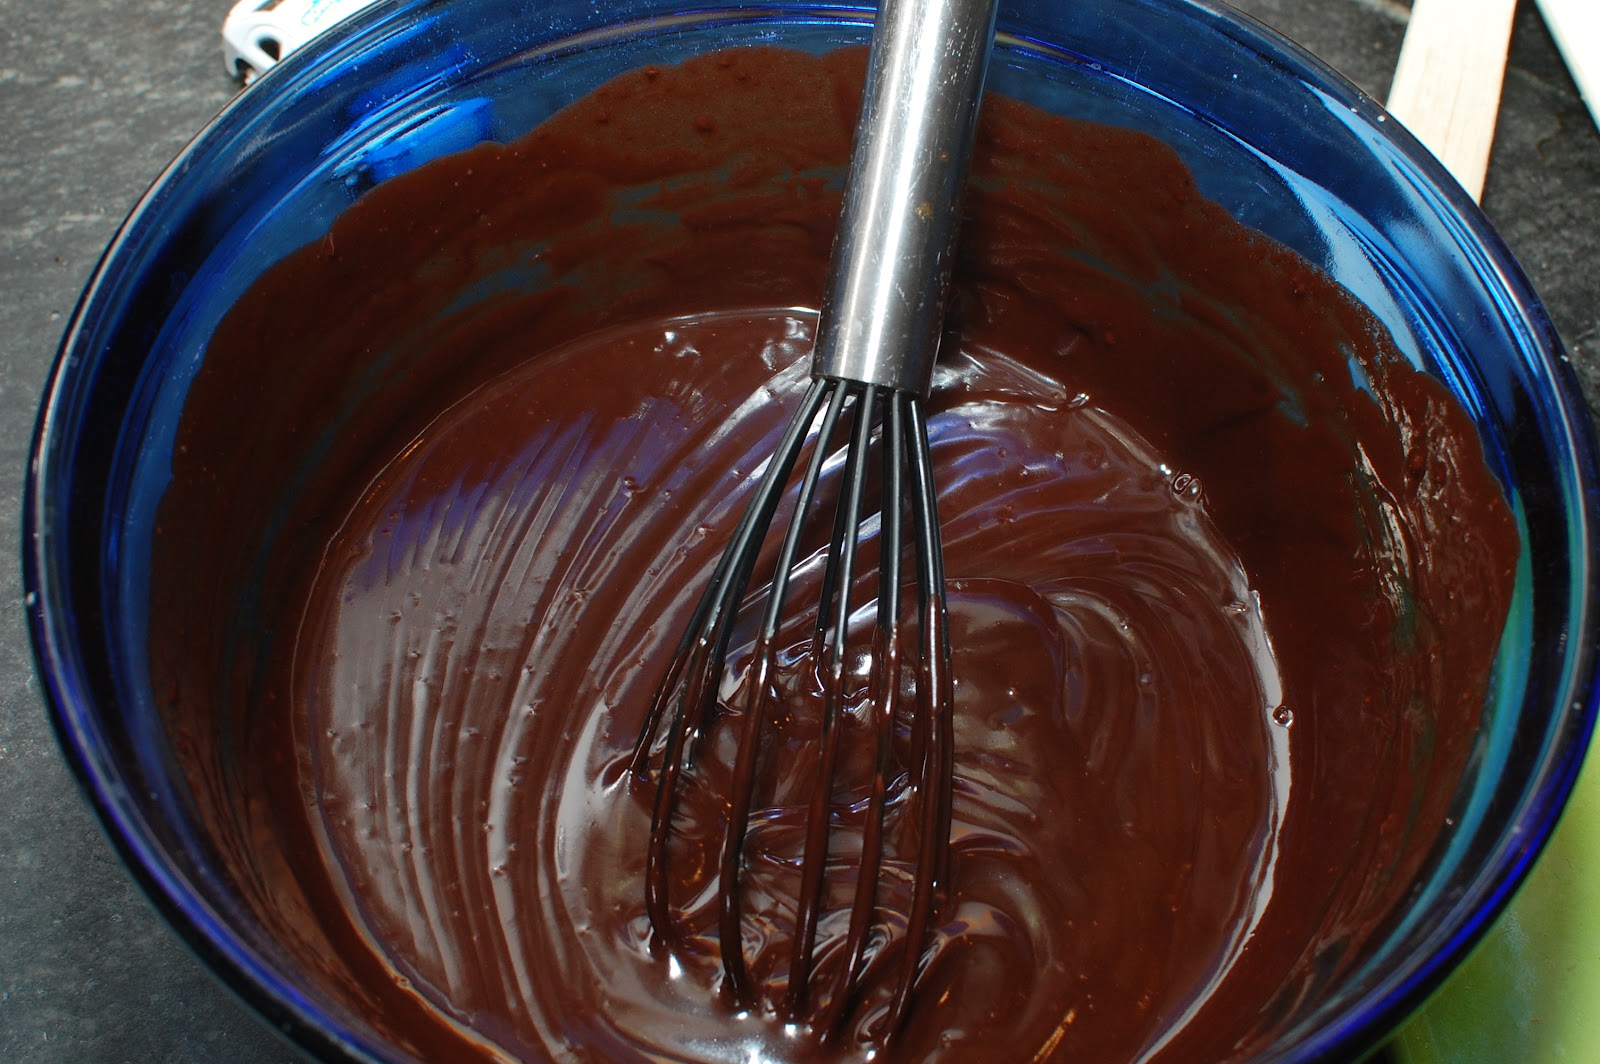
I started in the morning with making the lemon curd. I was surprised to see how many egg yolks (6!) went into it! Fortunately I knew exactly where my double boiler was, so I pulled that out, dumped in all the ingredients and started whisking away. Funny little side story, Summer told me measuring out the 1 inch of water was really beneficial, so I decided to do the same. Except....all of my measuring tools were still packed away somewhere. So I improvised with an iPhone app, a spatula and a rubber band. :)


It all worked out and about 22 minutes later my lemon curd was thickened up real nice. I strained it into a bowl, covered it and set it in the fridge to chill.


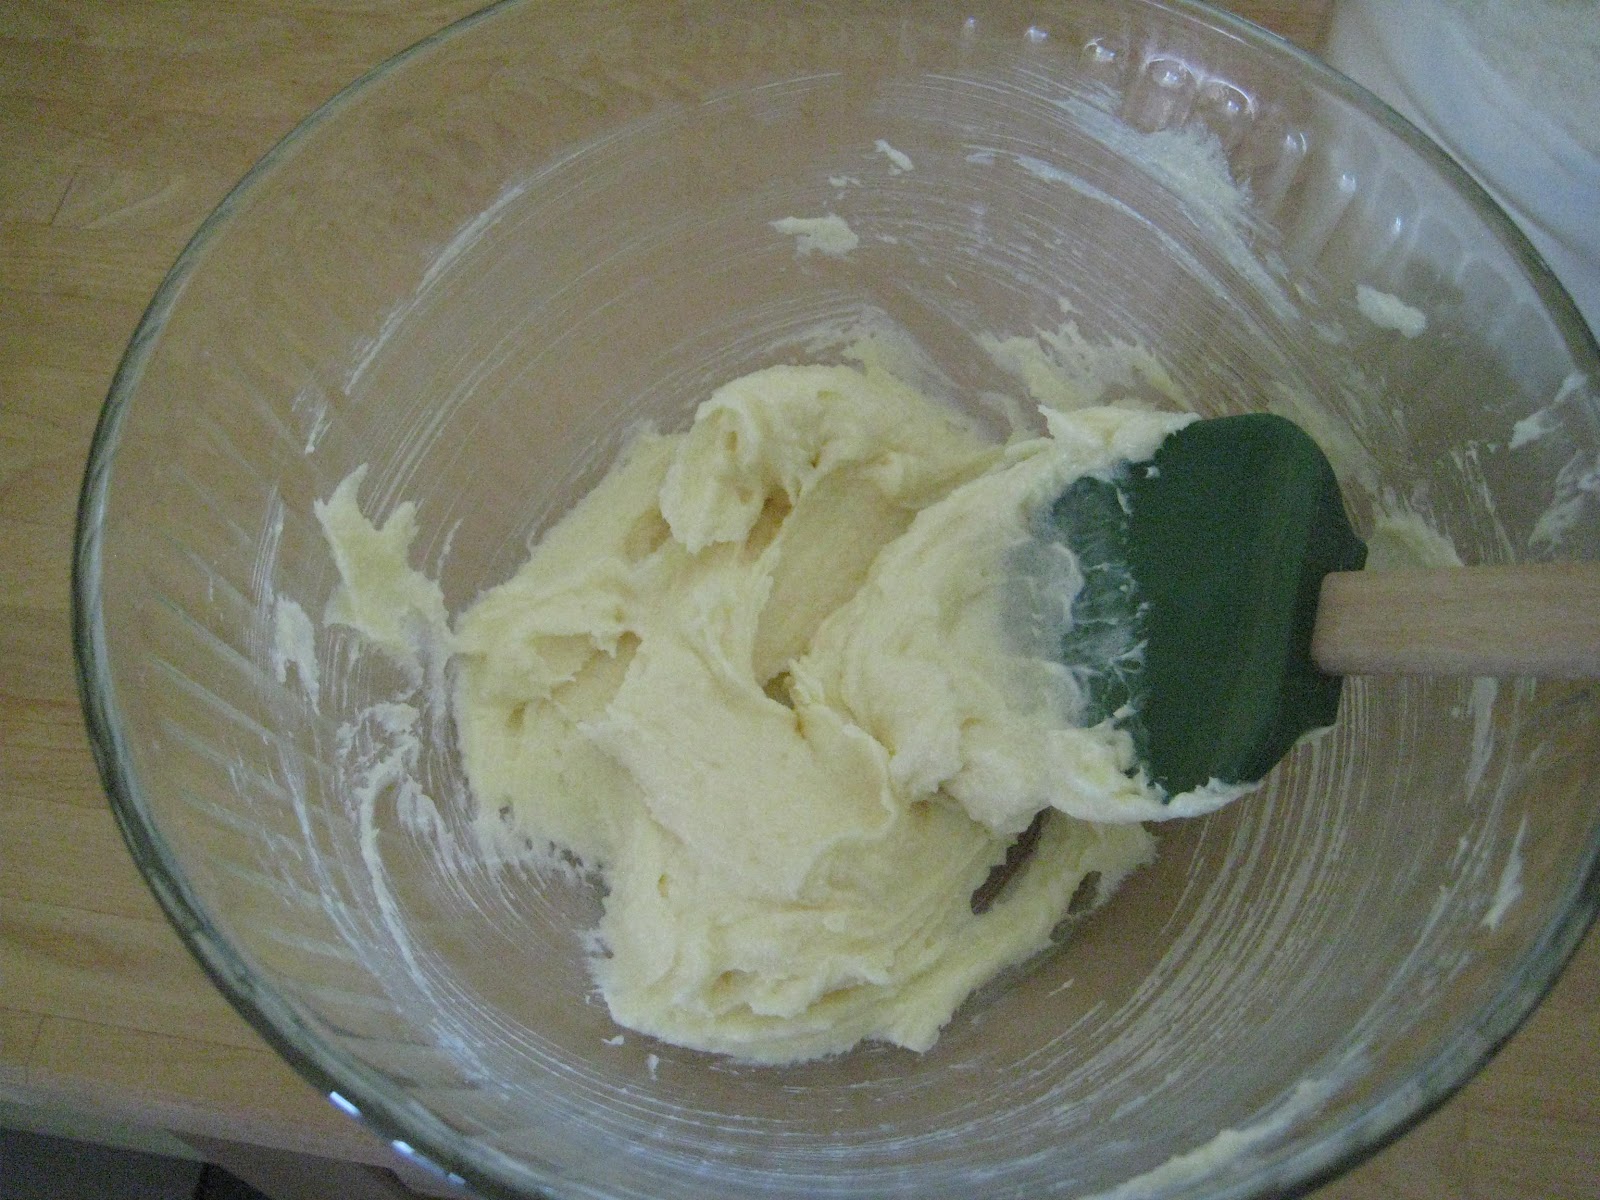
A little while later, I made the shortbread. This was super simple to make and I had it in the oven within minutes. It baked for 13 minutes before I pulled it out (yep, learning another oven and its quirks). Somehow my scoring disappeared, but I was able to cut them pretty easily anyway. Mine were a little thicker since I only had an 8x8 pan to work with.

Finally I made the meringues. I had no idea how simple those were! Egg whites and sugar - that's it! It took a lot longer than I expected for them to stiffen up, but once I put the mixed on super high speed, they really thickened up. I stole Summer's idea for using a piping bag and decorator tip and plopped them on to the baking sheet. After 45 minutes, I turned the oven off, but I was disappointed to see that they had over baked and started browning. :( Oh well...hard to learn a new oven in one day.


After dinner, I assembled them and distributed them to the kids, hubby and his folks who were here helping with some lingering move items. I thought it looked really cute all put together, and I loved the taste of the lemon curd! So yummy! These made for a really cute little twist on the classic pie and everyone enjoyed them. :)


So there you have it. That brings us to the conclusion of this fantastic journey! I can't wait to continue later this summer with the direction we're heading in with the blog. Hope you'll stay with us! :)

Tuesday, June 26, 2012

"New Wave" Lemon Meringue Pie - by Summer


I don't even know where to start.  I have so many things to say about this - my last recipe!  I can't believe it's finally here.  I had visions of me doing this recipe on a weekend day while my husband wrangled the kids.  I wanted to be alone, unrushed, and enjoying every minute of this last one.  But of course it didn't happen like that at all.  I made this over the course of two days with at least one child, but mostly both of them under foot!  It makes me laugh because why should this final recipe be made any differently than how the rest were made - often with a child on my hip or underfoot?!

As I started making this one, I felt it was so appropriate that it be the final one for me.  The only recipe that still haunts me to this day was the Lemon Berry Semifreddo.  I cursed that recipe because the sugar would not dissolve in the egg yolks and I vowed never to make it again.  But that lasted a week and I kept thinking about how I did want to try making it again to get those egg yolks and sugar dissolved to the right consistency!  I had no idea that this would be a redemption recipe, but in a way it was for me.  I was so determined to get the lemon curd right!


The recipe has three separate elements.  If it wasn't the last one, I probably would have bought the shortbread and the meringues, because Beth did suggest it.  I thought I should go big or go home with this one, so I went big!  I started with making the shortbread which was super easy.  Butter, sugar, flour mixed together and pressed into a 9x9 pan.  Score, prick with a fork, bake, cool, and break apart!  Easy enough.  My scoring was terrible and I couldn't figure out how to make 8 even pieces (I kid you not) because I had a crying child tugging at my leg.  So they were super uneven, but as I was scoring, I made some intentionally small for the kids.  Usually I have my little boy as a helper, but he was sleeping and my daughter was boycotting her nap, so I had her helping!

The next element was the lemon curd.  I was so careful with this.  I actually remembered my juicer, so juicing the lemons was super easy.  I used exactly 4 to get a half cup of juice.  Then I actually measured out inch of water for the sauce pan and made sure that it was steaming, but not boiling.  Then started the whisking of the egg yolks, sugar, lemon zest, lemon juice and butter.  The recipe stated that it would take about 12-15 minutes until it would thickened, but not to let it boil.  By 24 minutes, I felt it was done!  It was a long time and the beginning 12 minutes I was whisking while holding a child, so at first I couldn't take a picture of the whisking (but I actually tried and was completely unsuccessful!)  I strained the curd and poured it into a bowl.


I made the meringues this morning primarily because they bake for 45 minutes with the oven on and then stay in the oven for another hour.  They are best the same day they are made which is another reason why I waited.  They are so easy to make - egg whites and sugar.  Both kids "helped" and thought it was a lot of fun.  Fortunately they were bored by the time I put them on the cookie sheet.  I decided to use a new decorating tip and pastry bag and pipe the egg whites on the cookie sheet for a pretty look.  I am glad I thought to do that.  They turned out really well!  I ended up leaving them in the oven longer than an hour after I turned off the oven because we had to run some errands.  I don't think it made a difference.

And then while both kids were sleeping for their afternoon nap, I took advantage of the quiet and good daylight to assemble everything and take pictures - oh, and course to eat it!  Yum!  This did not disappoint!  I love the lemon curd - it's so tangy!  The shortbread and meringue were equally as yummy.  What a great way to go out!


I plan on doing one final post with my final thoughts on this project!

Friday, June 15, 2012

Contest Winner!

Before we announce the winner, we'd like to offer a heartfelt thank you to all of you for your lovely comments. It was so fun to read about everyone's favorite recipes along with your heartwarming well wishes and congratulations. This project has meant a lot to us, and we're glad you've been able to hang out with us on the journey. :)

And now for the exciting winner reveal!

Of course we did this with a baking theme. :) Here's Caiden mixing up all the names in the bowl.


He's selected the winning name....


Congratulations to Heather Darab!!!!!

Your cook book will be arriving in the mail shortly! You'll have to let us know how your almond raspberry cake turns out. :)

Tuesday, June 12, 2012

Almond Joy Cheesecake - by Summer

Here it is - my second to last recipe - I can't even believe it!  I had a lot of problems trying to find two of the ingredients for the recipe.  The first was the chocolate graham crackers for the crust.  I know I have seen them before, but for the life of me, I couldn't locate them these past couple of weeks.  I decided to settle on some fudge stripe cookies.  But I wasn't sure how they would grind up, so I bought some Chocolate Teddy Grahams as well.  As it turns out - the cookies were just fine.  And I decided instead of leaving the almond slices whole, since I had the dreaded food processor out, I would grind them up too!  The crust came together quickly and easily.


The second ingredient that I struggled with was the cream of coconut.  I didn't realize at first that the recipe called for this, until after I had already bought coconut milk.  I did some research and looking and looking for cream of coconut to no avail.  I decided to just use the thicker part of the coconut milk and hope for the best.  Other than that, the filling was super easy.  I do want to mention that I am currently using homemade vanilla from my baking partner - Lisa!  She gave some to me this winter and it is wonderful!!!


Since we have made two cheesecakes now, I'm trying to figure out why I always think that cheesecakes are so hard.  The cheesecake crust and fillings are typically really easy, but I think it's the baking instructions that are intimidating.  First - you have to wrap the spring pan in two layers of foil and then you have to bake it in a warm water bath.  It's not difficult, just time consuming.

My cheesecake baked for about 65 minutes.  It seemed pretty firm in the oven, although I still thought it could have baked slightly longer.  I let the cheesecake cool and put it in the fridge overnight.

Today I made the topping.  Toasted coconut and almonds with a chocolate ganache - yum!  The ganache for this recipe is made with 12 oz. of semi-sweet chocolate.  I seriously considered only using 10 oz, but in the end, I just followed the recipe.  I made sure to slowly heat the cream and coconut milk and whisked it every so often, so it got nice and hot.  I slowly added it to the chopped chocolate, whisking constantly and I was able to get all the chocolate to melt.


Like Lisa, I was really pleased with the outcome of this dessert.  It looked so awesome and just like the picture.  I totally copied Lisa's shot :-)


This is a really yummy cheesecake.  My husband liked the cheesecake and crust, but wasn't overly keen on the topping.  My son and I loved the topping! I probably could have let the cheesecake cook a little bit longer, but it was still good!  I would definitely make this again because it is so impressive!

I want to do a quick reminder that there is still one more day left to enter our giveaway!  Just head to this post and leave a comment!

Thursday, June 7, 2012

"Almond Joy" Cheesecake - by Lisa

Wow! The second-to-last recipe for me! This definitely was a good one to save for the end too! I got a little cheesecake practice in a few recipes ago, so I pretty much had the hang of it for making this one. Altho, I still had a mishap with overcooking the top of it, despite checking it 15 minutes before the recommended baking time was up! It must be the oven here.

This crust had a little twist on the traditional graham cracker crust with the addition of some sliced almonds.


 While the crust was baking in the oven, I mixed up the filling. Since this cheesecake is meant to be reminiscent of an Almond Joy candy bar, it also has coconut in it. Luckily Summer warned me ahead of time that one of the main ingredients of this recipe was cream of coconut which is not to be confused with coconut milk!


It was not where I expected it to be in the grocery aisle (by the Asian foods), instead a store employee showed me to the Mexican food aisle where I found exactly what I needed! Once the filling was done, I poured it into the crust and then set up the water bath. This time around, I used the roasting pan that is attached to the door of my oven. I wish I had thought to do that last time! This worked much better, and I used boiling water and added plenty of it.


I checked on it after 45 minutes and discovered the aforementioned browning. I put a piece of tin foil over it and baked it for another 5-6 minutes because I felt it wasn't quite set. I think that did the trick. I left it to cool for an hour and then stuck it in the fridge for the night.


The following afternoon, I made the topping. Once upon a time, I would have cursed cutting 12 oz of chocolate, but now that I know to use my serrated chef's knife, it was a piece of (cheese) cake! (heh)


I warmed up the cream of coconut with the heavy cream and then added it to the chopped chocolate.


 That got whisked together, but the chocolate didn't melt all the way, so I actually had to microwave it a little.


Meanwhile, I toasted the coconut and the almonds.


Once everything was cooled, I spread the chocolate on the cheesecake and then topped it with the coconut and almonds. I couldn't believe my eyes when I discovered the cake actually looked just like the picture in the cookbook! Woo Hoo!!! That doesn't happen often, and I am particularly thrilled when it does. :)


We had a neighborhood get together, so I brought this for the dessert. It was perfect for sharing and everyone loved it! It is rich and decadent and oh so yummy. I really loved the flavor of the toasted coconut and almonds on top. It gave the cake a lovely crunch and sweet flavor. I am happy to feel like I am getting the hang of making cheesecakes! I might like to try some others and see how they turn out. :)

Wednesday, June 6, 2012

The Final Two, the Future and a Giveaway

It’s hard to believe, but we are down to the two final recipes in You Made That Dessert? Months ago we actually each picked a recipe that we wanted to save for the end. So after 88 recipes we have finally reached 89 and 90! When we started 2 and ½ years ago, this point seemed so far away!

We have been asked many times about what we would do once we have finished the book. Many people wondered if we would bake our way through a new cookbook or try something else besides baking. After much brainstorming we have made a decision. We want to keep our blog Best Friends Baking. It’s been a lot of fun to do something together, even though we are miles apart. We are both very passionate about baking, so that will remain the focus of the blog. Instead of going through another cookbook, we each will be trying at a minimum of one new recipe a month and blogging about it. We have free reign to pick whatever recipe (Hello Pinterest!) and we will no longer each be baking the same thing. In addition to something new, we’ll also be posting some of our favorites and some tips and techniques that we have learned along the way. We hope that this will turn into a resource for not only us, but you to consult as we continue to grow as bakers. We hope you’ll stay with us on our baking journey!

You Made That Dessert?: Create Fabulous Treats, Even If You Can Barely Boil Water
As this project has been winding down, we thought it would be fun to have a little giveaway. How would you like your very own copy of You Made That Dessert? for your kitchen? We are giving you a chance to win this wonderful cookbook. Obviously we are biased, but it is truly a fabulous dessert cookbook! The recipes are very detailed and every recipe has a picture!! All you have to do for a chance to win is leave a comment on this post with which recipe was your favorite or which recipe you would most like to make. Only one entry per person and you must live in the US. One winner will be selected at random. The deadline is Wednesday, June 13 at 11:59 pm CDT. Thanks for reading our journey so far and good luck!

Friday, June 1, 2012

Cherry-Berry Stovetop Cobbler - by Lisa


Hoooo boy. I totally kept putting this one off. I bought all the ingredients for it way back at the beginning of the month, but waited so long that I had to go out and buy a new pint of half 'n' half this week! I had contemplated selecting this recipe on a few separate occasions, but was always put off by it seeming too complicated. Today I decided would be the day to get it done.

From start to finish, this took me about 2 hours to make (factor in defrosting time for the 4lbs of fruit, doing the math on the fruit, making the OJ, making dinner, and having two little monkeys literally underfoot the whole time. Fortunately I was able to keep on top of everything, so I didn't completely stress out! I was surprised by how much equipment I went thru! Three large bowls, a couple small ones, a strainer, two whisks, two spatulas, two measuring cups and of course my 3qt/10in cast iron buffet server.

In reality, this really was simple to make. If I had the fruit defrosted and drained ahead of time in the fridge and had pre-made juice, I think it would have gone quicker. While the fruit was defrosting in batches in the microwave, I made the OJ and the biscuit dough.


Next I made the corn starch mixture and whisked it with the juice. (I opted to whisk it in a bowl and add it to the pan later.)

Then I combined the fruit with the mixture and let it thicken on the stove. Incidentally, I used Trader Joe's Berry Medley and frozen pie cherries from Woodman's.


I think it turned out to be a blessing in disguise that they didn't have the cherries I usually buy. I think these may have been more tart, which was a really nice addition to the recipe. That part took about 10 minutes or so.


 Once the fruit was ready I dropped in the biscuit dough, covered it and let it cook for the 20 minutes. Fortunately, I didn't run into the same issue as Summer did. Maybe it was the half 'n' half after all? It cooked for another five minutes with the lid off, and then I let it cool for about another 15 min.


Finally, the moment had come where we could dig in. My four year old was more than ready, and he was the first one back to the table. I have to say, this was well worth the effort! I really really enjoyed this treat. I wish I had some ice cream or whipped cream to try with it...maybe tomorrow night. :) I think I would make this again - just have more things ready to go up front!