Background

Thursday, May 31, 2012

Cherry-Berry Stovetop Cobbler - by Summer


I was putting off making this one because I felt like I didn't have a good large skillet to make it in. I kept thinking of what I would do and in the end, I used the only skillet that had big sides and a lid.  I thought it would be too big, but this recipe has a lot of fruit.

To begin I used whipping cream instead of half-n-half for the biscuit part.  I didn't think it would make a huge difference.  They came together really easy and I even thought about using this biscuit mix for something else (like a muffin base or something).

Then it was time to make the fruit mixture.  The recipe calls for 4 cups of cherries and 5 cups of mixed berries like blackberries, blueberries or raspberries.  I ended up using about 2 1/2 cups of cherries and about 6 1/2 cups of frozen blackberries, frozen raspberries and fresh blueberries.  Because some of the fruit was frozen (I did partially thaw it), I used more cornstarch.  But in the end I think I should have used a little bit more.  The recipe also called for a half cup of juice.  I had cranberry on hand, so I used that.  While the fruit was cooking, it smelled like my favorite berry pie that I like to make - especially during the summer.  I think in the future I will use juice with the berries in that pie instead of water.


Anyhow, I put the biscuit dough on top of the fruit and covered it.  And it baked and baked and baked on the stove.  For probably a good 50 minutes.  The biscuits were just not looking done.  I finally uncovered it and that still didn't help.  So then I threw it in the oven and after about 10 minutes, I just gave up and declared them done!

I really liked this concept.  Especially for the summer time when it can get really hot around here.  I love desserts with a cakey/crust, but sometimes turning on the oven gets the house way too warm in the summer.  I loved the taste of this, although I wish the biscuit part was more done. Was it the whipping cream instead of the half-n-half?  Or was my skillet too big?  I do want to try making these again.  The fruit filling is so good and dessert enough all by itself!

Wednesday, May 30, 2012

Wine-Poached Peaches - by Lisa

I realized with this recipe that somehow I've been thinking White Zinfandel and Rose wines were interchangeable. I think because they are both pink wines that I just made that assumption. After reading some labels, I quickly realized that is not the case! :)

While this recipe certainly is pretty simple, I did run into problems with my peaches. However, I attribute that to my inability to pick out good peaches. :( I think the peaches I chose were not ripe enough. I cooked them for an extra ten minutes and they were easily pierced with a paring knife by that point. But when it came time to try and peel the skins off, I had zero luck. :(


I'm glad I chose a larger pan, because the peaches all just barely fit! I loved the suggestion to use a melon baller to get the pits out too. That worked beautifully, and it is something I never would have thought to do on my own.


After taking the peaches out to cool, I got the liquid up to quite the happy boil. I let it cook on the stove for about another 20 minutes. I was surprised at how much liquid boiled away, and I was actually a little nervous I wouldn't have enough syrup!


After cooling, the syrup thickened quite nicely. I spooned it over the unpeeled peaches and figured we'd just have to go with it.


Hubby and I were both pleasantly surprised by how tasty this was. It was a little challenging eating the peaches, but I practically licked my bowl clean of the syrup! I really liked the flavor! Maybe if I can get some better luck with picking peaches, I'll try this again sometime.

Monday, May 28, 2012

Creamy Vanilla Cheesecake - by Summer

I can't believe that I didn't pick this recipe sooner for one major reason - my husband LOVES cheesecake! But I finally decided to make it for this weekend.  It was really easy and straight forward.  I have never made a plain vanilla cheesecake.
creamy, cream cheese!
I used my 9 inch spring-form pan, which is slightly larger than the 8 inch one that is called for in the recipe.  The graham cracker crust was easy to make and then I made the filling.
My assistant testing out the roasting pan for the water bath
I thought because my pan was larger, it would take less time to bake, but I kept a careful eye on it (especially after reading Lisa's post).  It seemed done after 70 minutes.
Ready to eat!
Even though I already tried the brandied cherries, my husband requested them when I asked what to make to go with the cheesecake.
This was oh-so-yummy!  I know, without a doubt that I will be making this again!  My husband actually had more of this than I did (he's not known for his sweet tooth!) I think next time I would like to try the peach-bourbon sauce that Lisa made.

Sunday, May 27, 2012

Tiramisu - by Lisa

Summer and I both had the same brilliant stroke of genius for me to try on this recipe - substitute hot cocoa for the coffee! And boy am I glad I did that! For years I have avoided tiramisu because of the coffee, and essentially wrote it off as a dessert I will never enjoy. And obviously it was one I wasn't initially excited about making because of the coffee factor. But swapping in the hot cocoa made it a whole new ballgame! :D

For some reason, I always thought tiramisu was a complicated dessert to make, but it really isn't! And it's a no bake recipe which was perfect for this HOT Memorial Day weekend. We decided to have an impromptu pizza party with our neighbors, and I thought this would make a nice dessert for us to share.

I was able to find the mascarpone and lady fingers at my local Jewel and I had some brandy left over from the brandied cherries we made a couple months ago. I was a little confused about the ladyfingers and whether one layer or two counted as a single ladyfinger. I decided to go off what the package indicated, and that seemed to work out well (2 layers=one ladyfinger). I was also excited to use my lovely 7x11 red casserole pan that Summer got me for my birthday! It fit everything just perfectly!

I think I did over whip the mascarpone/cream/sugar mixture, but it didn't seem to negatively affect the end product. It was a bit laborious (and surprisingly messy) coating the ladyfinger layers with the chocolate/brandy mixture, but I did manage to use all but about a 1/4 cup of it.


All in all, this was pretty easy to make, and the chocolate substitution was awesome! Everyone liked it, and the plates were virtually licked clean! I can definitely see making this again!

The Carnage - Sorry for the crummy picture, I didn't have a chance to snap a good one earlier!

Friday, May 25, 2012

Wine-Poached Peaches - by Summer

Hurray - it's the unofficial start of summer this weekend!  For some reason, I have been putting off this recipe and I can't quite figure out why.  It could be that I thought it would tasty really boozy, or it could be that we never have wine in the house (and not because we drink it all either!) But for whatever reason, this morning I decided I would make this recipe!

Last night I ran out and grabbed a bottle of rose wine.

Besides the wine the peaches were the only other thing that is needed that I didn't have readily on hand.  One trick that Beth suggests with the peaches is to use a melon baller to take out the pits!  The wine is mixed with sugar to make a syrup.  Then you add the peaches.
 After the peaches have cooked for awhile in the syrup, you take them out and then boil to liquid until it reduces in half.  Then you let the syrup and peaches cool.  Once cooled, I mixed the syrup and peaches and stuck them in the fridge.

This was really yummy and quite refreshing.  Perfect for a hot summer day!  My syrup wasn't very thick, so I don't know if I should have reduced it more, or if that is just how it's supposed to be.  It didn't have a strong wine taste, which was one of my concerns, so I was glad about that. This was so simple to pull together, so I can definitely see making this one again!

Thursday, May 24, 2012

Tiramisu - by Summer


I can't figure out why I have put this recipe off for so long.  As I was reading through the recipe this week, I remarked to my husband, "what's not to like, coffee and whipping cream!" He agreed completely!


I was a little nervous about trying to find lady fingers, but fortunately my grocery store had them on hand!  I wasn't sure about the mascarpone cheese either.  I have heard about it a lot and have always wanted to try it, but again, my grocery store had it in stock (by the cream cheeses)!

This was really simple to throw together.  The hardest part was brewing the coffee, since that's usually my husband's job.  But I figured it out and then it was just a matter of assembly.  First you mix the coffee with brandy and let cool.  Then you whip cream, the mascarpone, vanilla and sugar.  I was surprised at how quickly the cream whipped up.  I did put my bowl and whisk in the freezer because it was in the 80's by us.  I wonder if the mascarpone aided the mixing? Then you put some lady fingers in a pan, brush with the coffee, spread half of the cream mixture and repeat! I used a 8x6 pan while the recipe called for a 7x11 pan.  The recipe also called for 24 lady fingers and I only used 20.  I also felt that I could have used more of the cream mixture.  It was hard to spread over the wet lady fingers, so next time I would add more whipping cream. And really - how can you go wrong with more whipping cream?!

This did not disappoint at all!  My husband said that he could have done with out the brandy, but I really didn't taste it at all.  I think this is a great dessert when hosting a dinner party.  It's the perfect ending to a pasta dinner! 

Tuesday, May 22, 2012

Creamy Vanilla Cheesecake - by Lisa

So I've now made cheesecake cupcakes and cheesecake bars, but this is the first real and proper cheesecake that I've ever made! :) I also decided that this would make for a fun birthday cake for my sister-in-law Amanda. Happy Birthday Amanda! Since this cake required some time in the fridge, I made it the night before. I also decided to dress it up with the Ginger-Bourbon Peach Sauce. (Doesn't it sound fancy - like something you'd find on a menu? Creamy Vanilla Cheesecake with Ginger-Bourbon Sauce) :)
I confess to being a little nervous about making this dessert. Partly because it was a new recipe that I was preparing for a special occasion and partly because I've heard cheesecakes can be a little persnickety. I really needn't have worried though because this came together really pretty well.

First I made the graham cracker crust, and while it baked, I put together the filling.


I think it covered nearly all the "cream" categories - cream cheese, heavy cream, sour cream. LOL! The recipe also calls for this to be baked in a water bath. Because of my oven set up, I had to made do with using my cast iron skillet for holding my spring-form pan and the water. I think it worked out mostly ok, but all of the water ended up evaporating, so I don't think I used enough. The only other problem I had was not keeping a close enough eye on it. About 5 minutes before the minimum bake time, I checked on it and was dismayed to find the top had turned quite brown. :( I'm not sure if my oven was the problem, if I over baked it, or if the rack should have been lower. Oh well, lesson learned for next time!

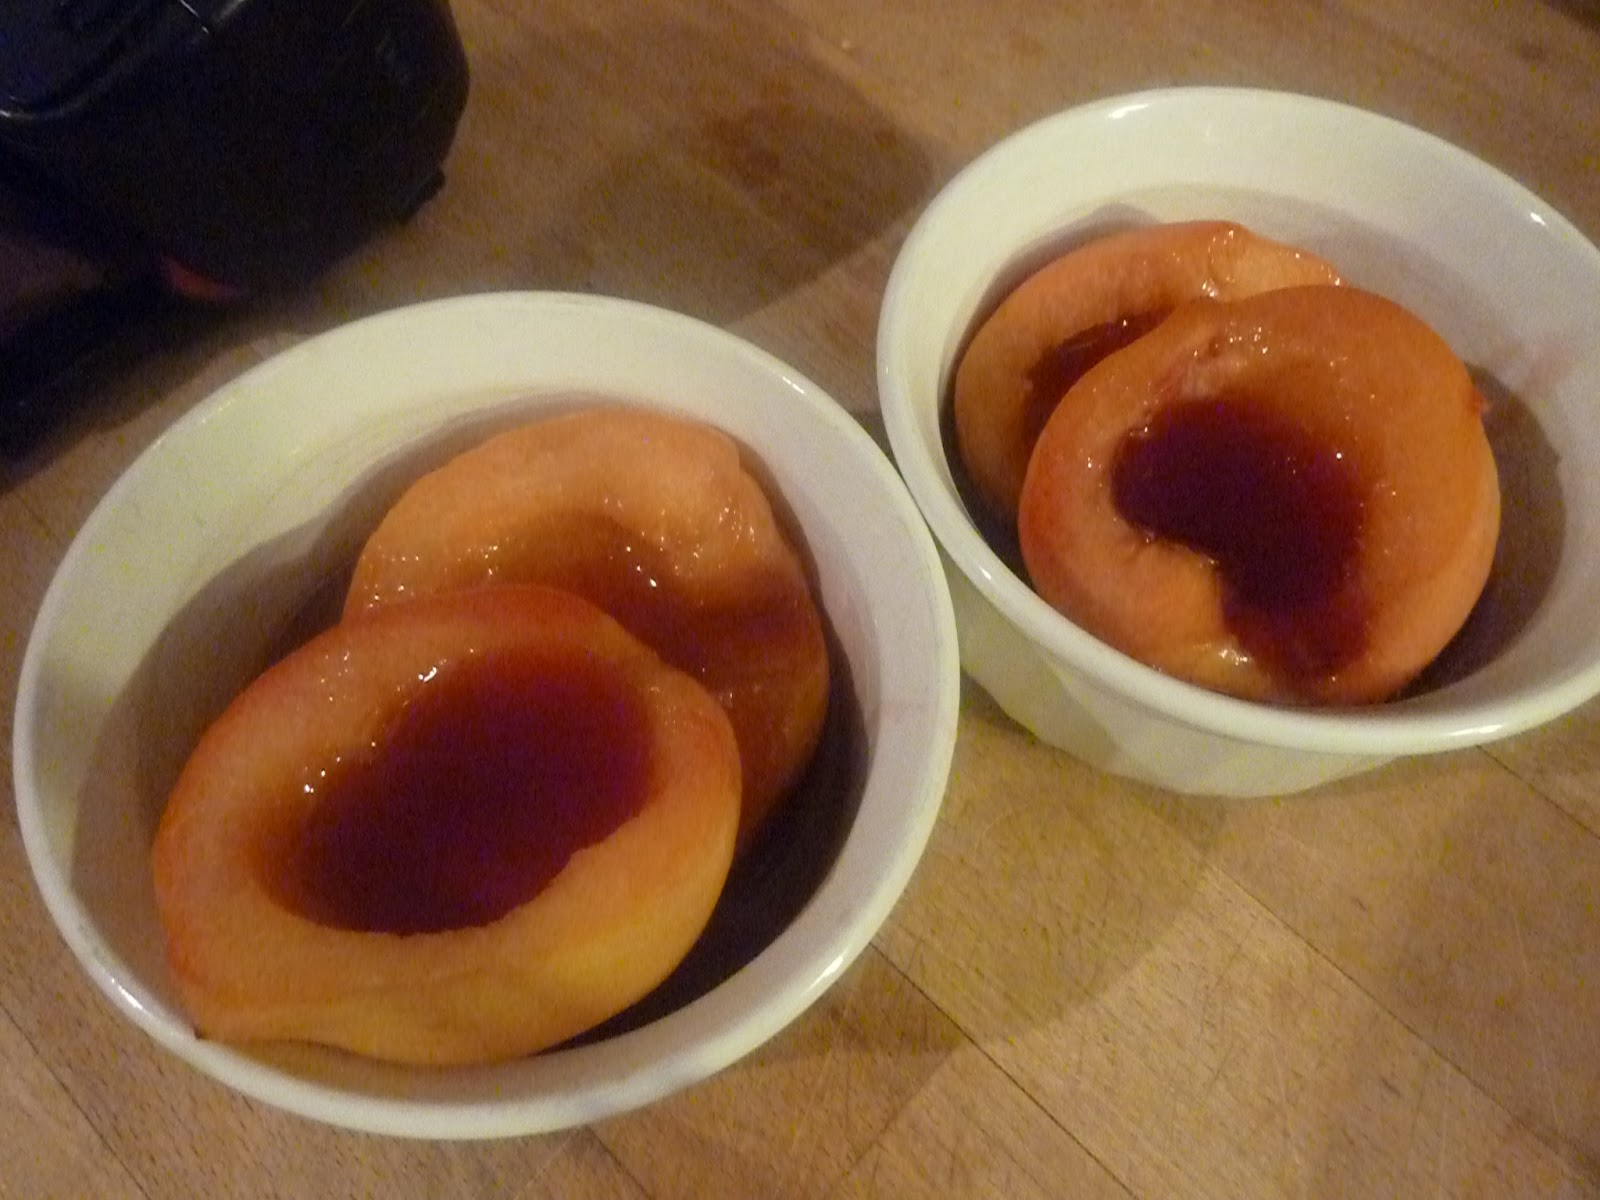
While it was baking, Hubby helped me make the sauce. That part was pretty easy. I was worried that the bourbon would be really noticeable, but I couldn't taste it at all! The sauce was awesome! Spicy and sweet all at once. Both sauce and cake were left in the fridge to set up overnight.


After dinner, we sang happy birthday and then dug in.


Every last one of us thoroughly enjoyed our slices! (Some more than others perhaps judging by the photo below.)


 I was very happy with how it turned out, and most importantly, the birthday girl found it to be delicious!! I love baking for people, so I am extra happy with how well this dessert turned out!

Wednesday, May 2, 2012

Cappuccino Biscotti - by Lisa

Ug. I was so not excited about this recipe. I guess that is pretty obvious since I procrastinated it right out of the month of April! Oops...

In the spirit of being a good sport, I will limit my kvetching to just this one sentence: I cannot stand the smell or taste of coffee/espresso/cappuccino, and I really don't like biscotti. So I will be leaving Hubby to taste test and assess how this one turns out. :)

I knew this recipe needed a fair amount of attention given the nature of making biscotti, so I waited until the afternoon when both boys were down for their naps. I got everything assembled pretty quickly, and used up almost the rest of the hazelnuts I had on hand from a prior recipe. The only extra ingredients I had to pick up were the mini chocolate chips and espresso powder. (I'm not 100% confident I picked up the right stuff. I combed the coffee aisle at my grocer and the closest I came was what's in the photo below.)

I did consider substituting cocoa powder for the espresso, but I decided it was best to stay true to the recipe. I also managed to murder another Pyrex spatula while stirring. :P I was even thinking to myself while stirring: "Hmmm...I wonder if this is going to break. Maybe I should have grabbed the wooden...*SNAP*! Ok then..." Anywho, I got everything together, divided the dough in half, shaped them into logs and popped them in the oven.


I pulled them out after a little over 30 min and allowed them to cool for about 10 min. They were then sliced up and returned to the oven to crisp for 10 minutes more on each side.


After B got home, he sampled a piece and gave it a thumbs up. :) They will go on to their final destination at his office in the AM. :)